The Complete Guide to At-Home Nail Care

Your guides through the skincare chaos

Ever noticed how clean, shaped, and healthy nails can make you feel like your best self, even in yesterday’s hoodie? Here’s the good news: you can look and feel that way without much effort. To be honest, your nail care routine doesn’t even necessarily require a visit to the salon or fancy nail art.
Whether you’re giving your nails a break from polish or just want a simple, clean look, an easy at-home routine is one of the best forms of self-care. Plus, it works for all types of manicures. This guide will walk you through every step.
Step 1: Soften Your Nails
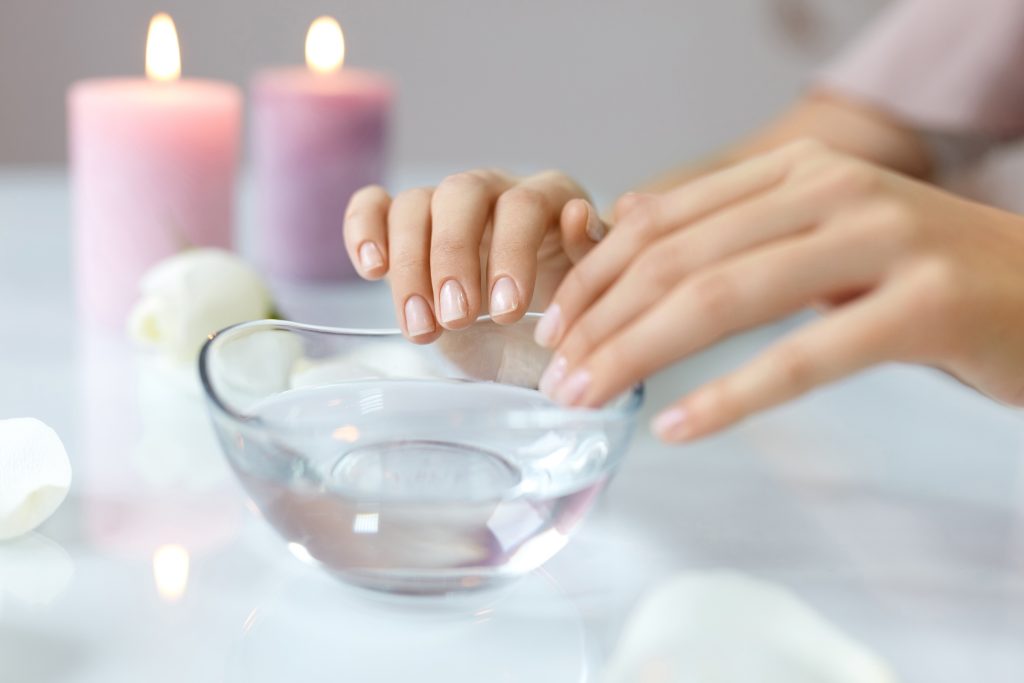
The best time to do your nail care routine is right after a shower, when your nails are soft and pliable. Begin by soaking your hands (or feet) in lukewarm water for 5–10 minutes. You can add a pinch of salt or gentle soap to help soften and clean.
Wearing polish? It’s important to start your routine by cleaning your nails with polish remover. This step can also eliminate oil, dirt, and residue. To avoid drying out your nails and surrounding skin unnecessarily, choose a non-acetone formula.
Step 2: Trim Your Nails Correctly
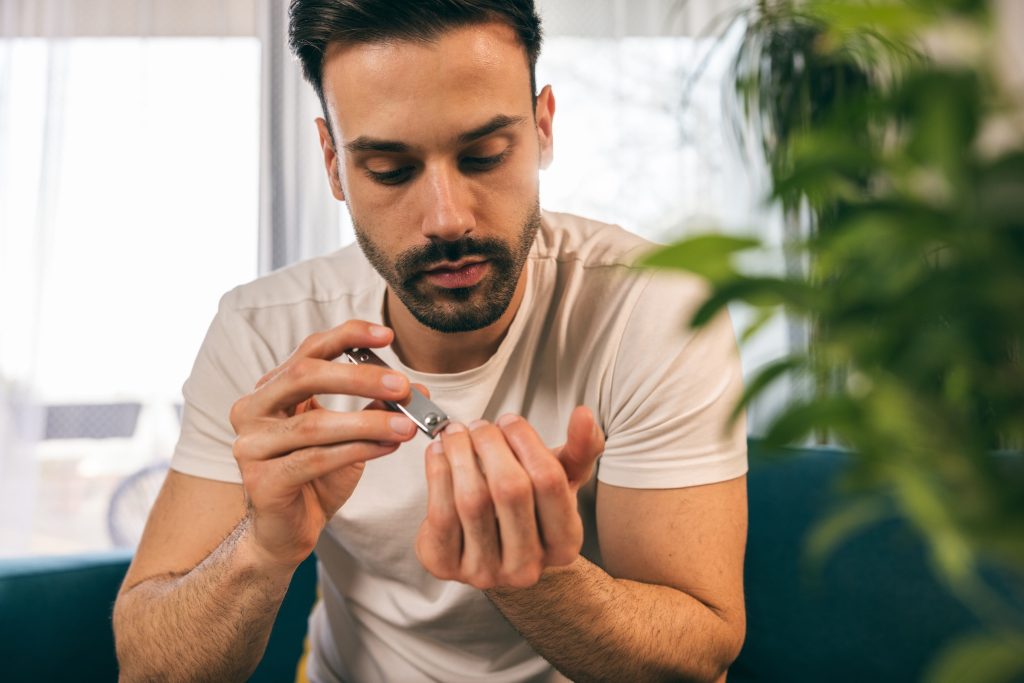
Trimming is where many routines go wrong—usually because the wrong tools are used. Opt for nail clippers or nail scissors for your fingernails and a separate toenail clipper for your toes. They’re designed differently for a reason, and using the wrong type for your nail care can lead to uneven or painful cuts.
For fingernails, you’ll want to trim almost straight across, then slightly round the corners to prevent snags. Toenails should be trimmed straight across to reduce the risk of ingrown nails. This isn’t a new idea, but a genuine recommendation from the American Academy of Dermatology (AAD).
And don’t forget to disinfect your tools once a month. Soak a brush in 70–90% isopropyl alcohol and scrub your tools. Rinse them in hot water and dry thoroughly before storing.
Step 3: File to Shape (and Buff for Extra Shine)
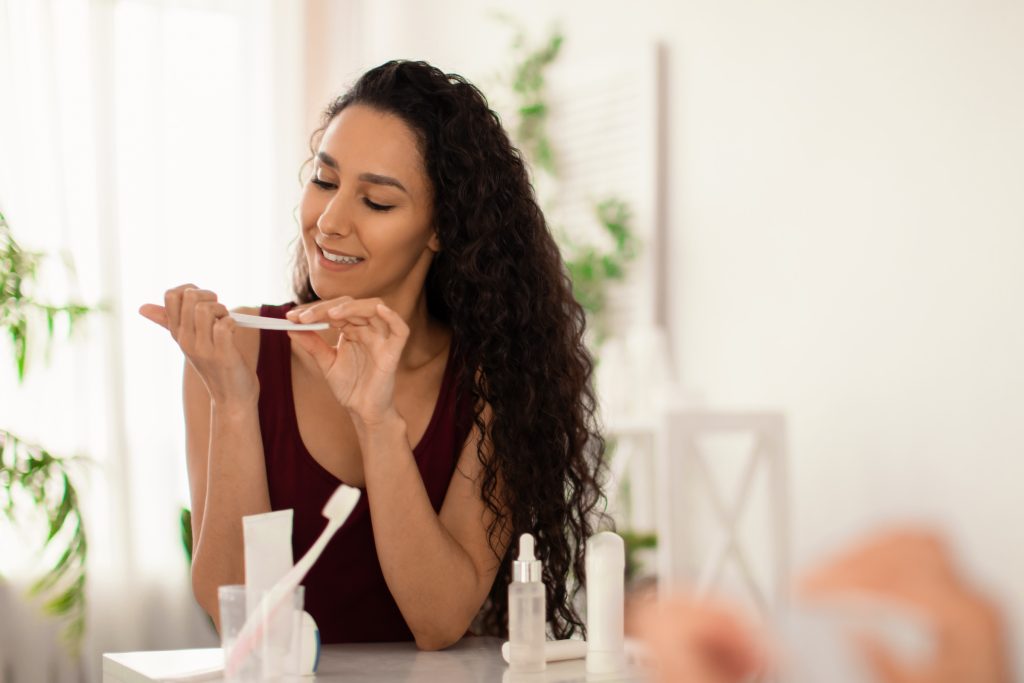
After trimming, file your nails into your preferred shape—square, round, almond, or a natural curve. Use a gentle nail file for this step: a glass or crystal file is a great choice because, unlike traditional emery boards, glass files leave a smoother edge and are less likely to create tiny tears in the nail that can lead to splits and flaking. And always file in one direction to avoid fraying or splitting.
Buffing can be a great addition to your nail care routine if your nail surface is uneven or dull. A soft nail buffer can smooth ridges and help polish adhere better. Just don’t overdo it—buffing too often may thin the nail plate.
Step 4: Care for Cuticles
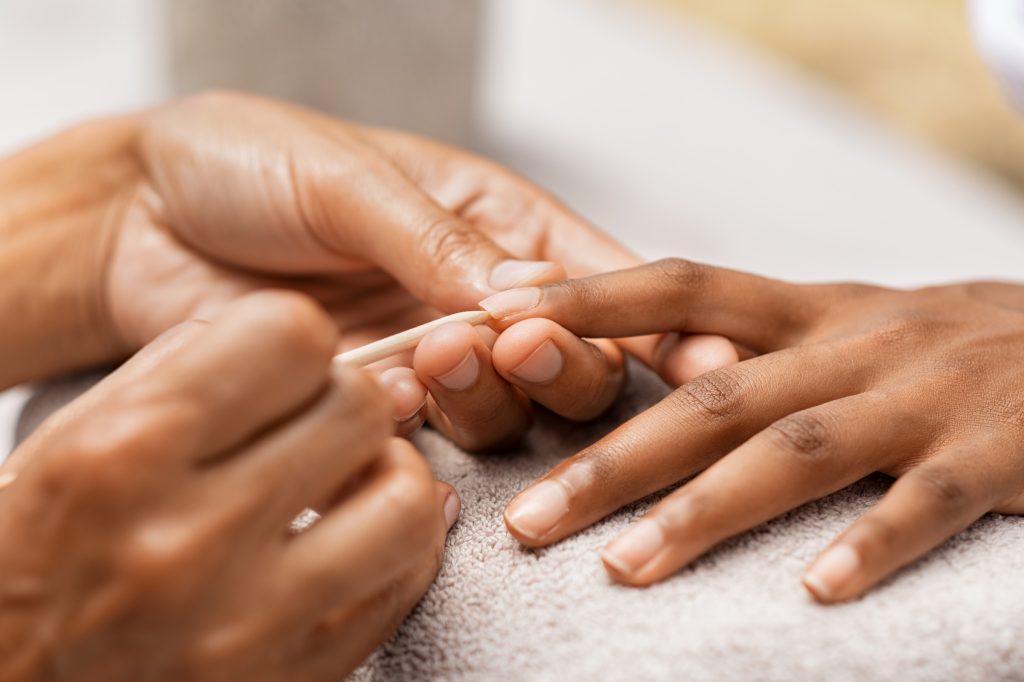
Cutting cuticles might seem like the pro thing to do, but dermatologists are screaming inside. According to the American Academy of Dermatology, it’s better to leave your cuticles alone. They protect your nail root from bacteria and infection. Cutting them = exposing yourself to possible issues you definitely don’t want to deal with.
It is ok, however, to push your cuticles back without cutting them. To do this, apply a cuticle remover, let it soften the skin for a minute or two, and use a wooden stick to gently push back the cuticle. Being gentle is key during this step of your nail care routine—no pressure, no pain.
Step 5: Moisturize Hands and Cuticles
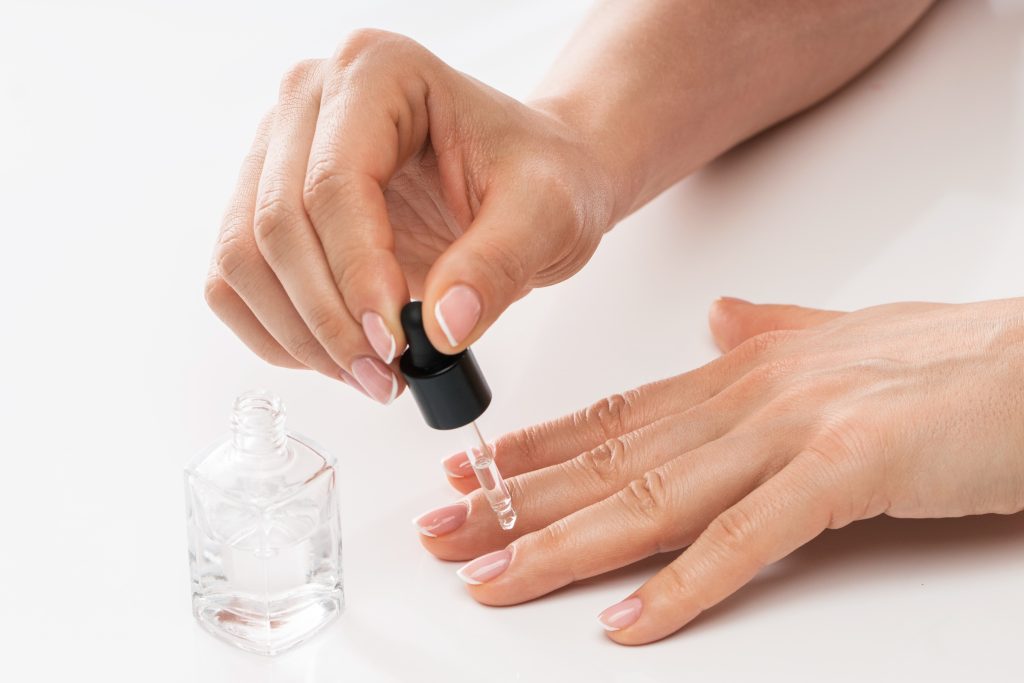
Dry nails split, break, and cry out for help. A solid nail care routine includes hydration. Massage in a hand cream that targets both your skin and nails, and don’t forget your cuticles. Pro tip for your nail care: do this after every hand wash and before bed.
Even better? Use a cuticle oil formulated with things like jojoba, vitamin E, or sweet almond oil (OnSkin is here to help you decode the ingredients in your bottles). Not only does oil nourish, but it also gives your nails that “just left the spa” glow. It’s instant luxury for all types of manicures, from minimalist to bold designs!
Step 6. Add Polish (If You Choose To)
If you’re in the mood to polish, here’s how to do it like a boss:
- Base coat. This protects your nails from staining and helps the polish adhere more effectively.
- Color coat. Apply one to three thin coats, depending on your preferred shade. Let each coat dry for at least two minutes. Thinner layers last longer and chip less.
- Top coat. This seals everything in and adds shine while preventing chips.
Need a hack? Use a nail drying spray or dip your fingertips in ice water for a few seconds to speed up drying time.
To clean up edges, use a cotton swab dipped in polish remover. For extra control, you can wrap remover-soaked cotton around a cuticle stick for a precise cleanup.
Step 7: Monitor Nail Changes
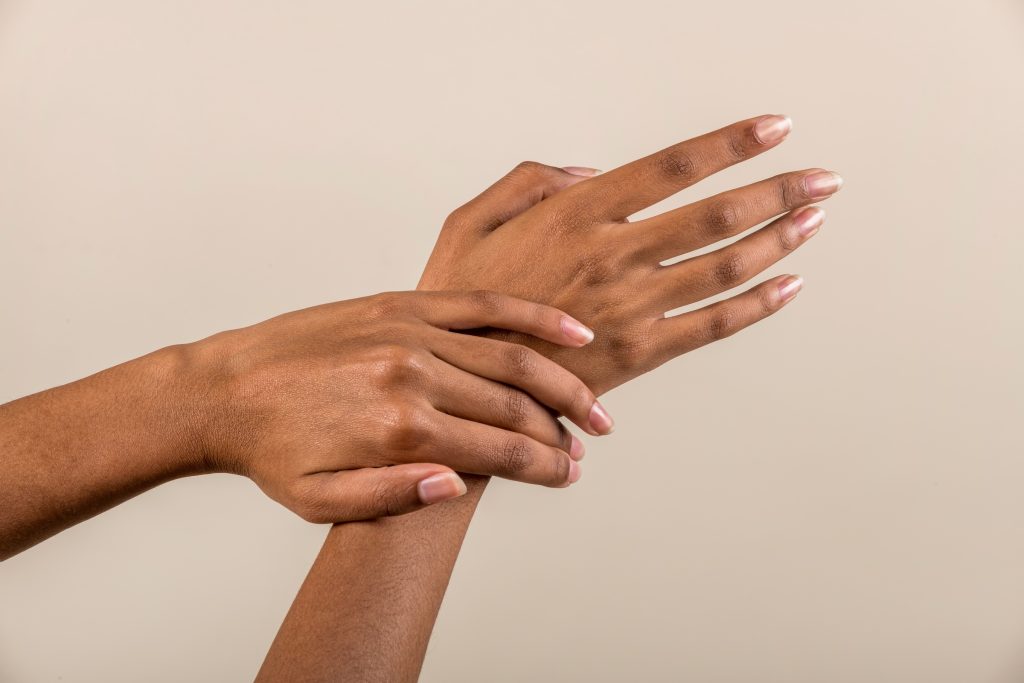
This might be the least fun part of our chat, but it’s also the most important: your nails are like mini health check-ins. If you notice any weird changes in texture, color, or shape, see a doctor.
Some red flags to watch for:
- Dark streaks under the nail
- Dents, pits, or grooves
- Nails pulling away from the skin
- Unusual thickening or thinning
- Persistent pain, swelling, or bleeding
These symptoms can be linked to infections, nutrient deficiencies, or other health conditions. Always check in with a medical professional if something doesn’t look or feel right.
Remember This
You don’t have to book weekly salon appointments to have strong, stunning nails. A basic manicure done right at home can feel just as luxe, and honestly, kind of meditative. So the next time you catch yourself admiring your own nails (because you will), remember: you did that.


-
1.
Teaching your child healthy nail care https://www.aad.org/public/everyday-care/nail-care-secrets/basics/nail-care
-
2.
How to trim your nails https://www.aad.org/public/everyday-care/nail-care-secrets/basics/nail-care
-
3.
Fingernails: Do's and don'ts for healthy nails https://www.mayoclinic.org/healthy-lifestyle/adult-health/in-depth/nails/art-20044954