How to Clean Makeup Sponges (And Why It Matters)

Your guides through the skincare chaos
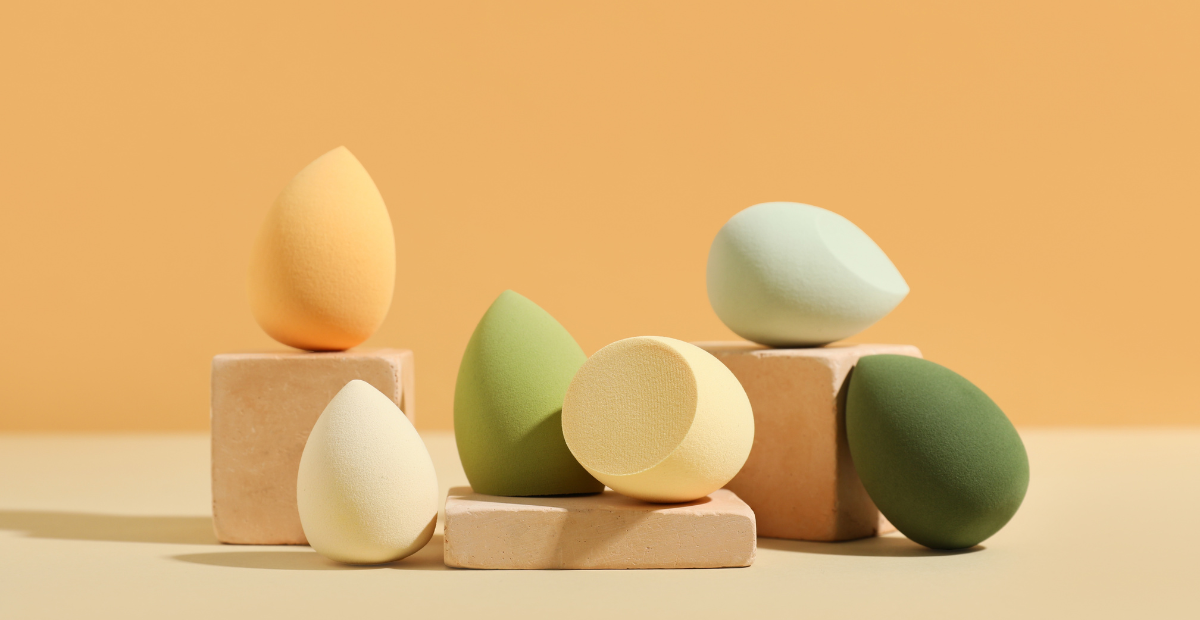
If you looked at your trusty makeup sponge right now, would you be able to tell what color it originally was? Be honest. You might (hopefully) clean it occasionally, but is that enough to prevent product buildup and the spread of bacteria? Let’s talk about how to clean makeup sponges (and your other tools) properly.
It’s pretty easy. Promise. It only takes a few minutes, and the only requirement is that you do it consistently.
The truth about cleaning makeup sponges
Makeup sponges are a damp, dark environment, and what’s known to enjoy that more than anything? Microbes. Every time you use a dirty sponge, you’re pressing bacteria, dead skin cells, and old foundation back into your pores.
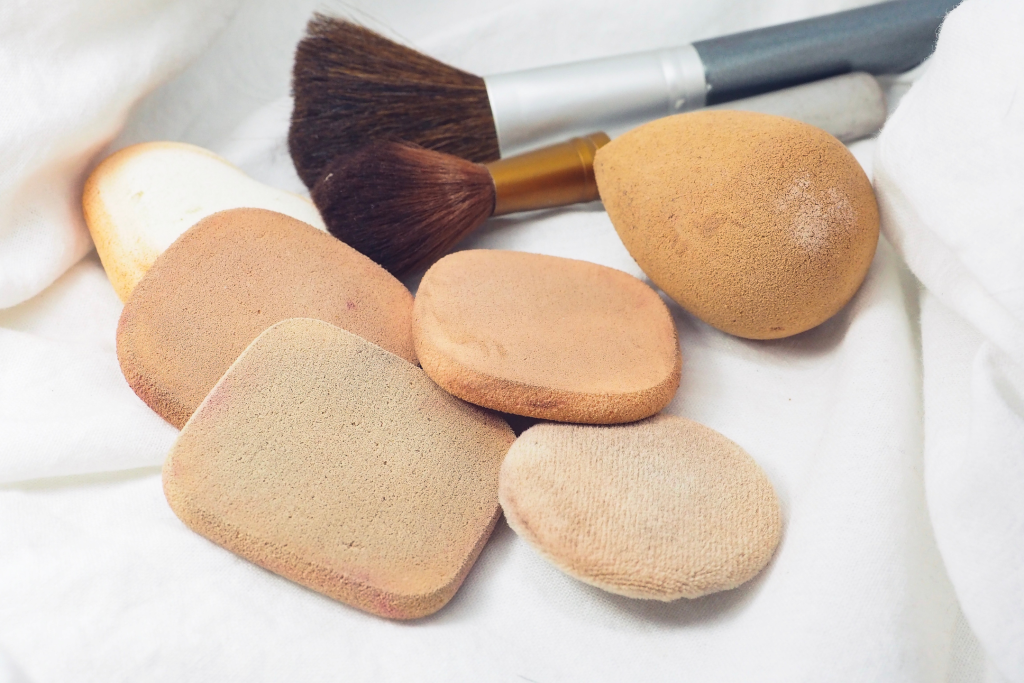
If that lovely visual just gave you an irresistible urge to clean your makeup sponge, it’s totally understandable. But before you start scrubbing, take a moment to figure out how to clean makeup sponges in a way that won’t lead to clogged pores, breakouts, or skin irritation.
Quick Tip: If your sponge develops a funny smell or starts to feel slimy, it doesn’t need a wash—it has grown a bacterial colony. Toss it immediately.
How to clean makeup sponges
Here’s a short, step-by-step guide on how to clean a makeup sponge without compromising effectiveness or ruining the texture.
What you’ll need
- A gentle, liquid cleanser (baby shampoo, a mild sulfate-free soap, etc.)
- Warm water (not hot, high heat can break down the material)
- A clean towel or paper towel
- A microwave-safe bowl (optional, if you wish to deep-clean)
The basic or “squish and rinse” method
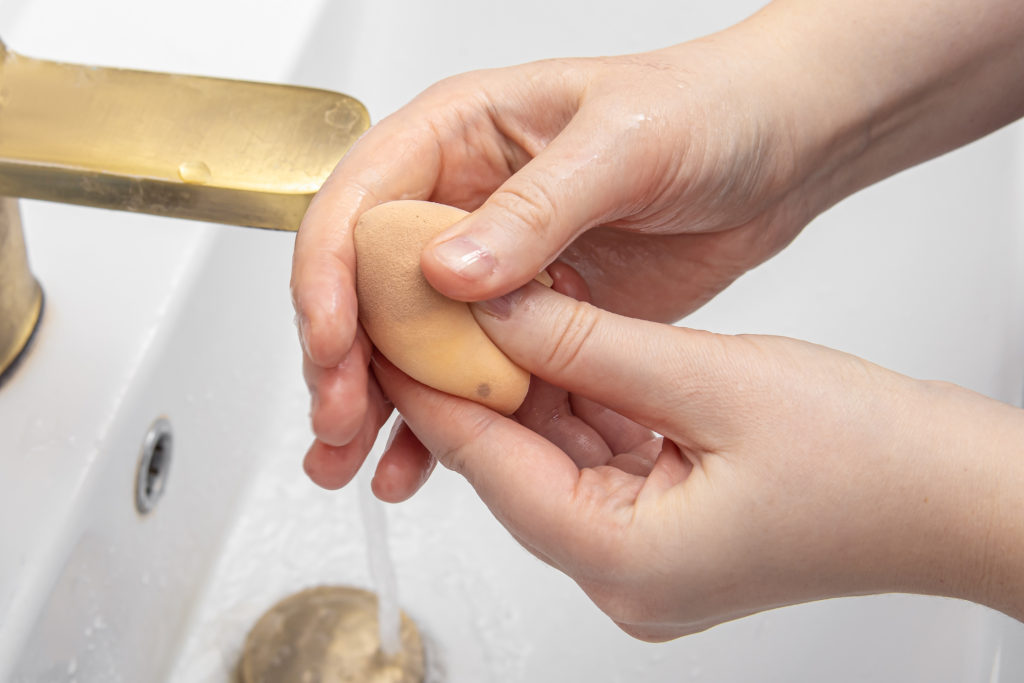
Step 1. Get it wet: Run your sponge under warm water until it’s fully saturated. It should double in size.
Step 2. Apply cleanser: Dispense a small amount onto the sponge or into your palm.
Step 3. Work it in: Here’s the key: don’t rub or scrub it like a washcloth. Instead, squeeze the sponge repeatedly in your palm under a gentle stream of running water. You should see the makeup-filled suds squeezing out. Keep squeezing and releasing until the water runs clear.
Step 4. Rinse thoroughly: Make sure all the soap is out. Leftover residue can irritate the skin later.
The microwave method for deep cleaning
Step 1. Clean the sponge using the basic method.
Step 2. Soak the wet sponge in a microwave-safe bowl of water.
Step 3. Microwave it for one to two minutes.
Step 4. Let it cool completely before squeezing out the water. (Warning: It will be hot!)
Quick Tip: Never wring or twist your sponge like a rag. This tears the material. Always squeeze.
Next: rollers, brushes, spoolies
It’s very unlikely there’s just one lonely sponge in your makeup kit. And while figuring out how to clean makeup sponges is a natural first step, there are more tools to take care of.
Let’s figure it out.
How to clean a jade roller
Or any crystal roller, for that matter. Jade or quartz—doesn’t matter, they all need regular maintenance unless you want to keep rolling yesterday’s grime back into your pores.
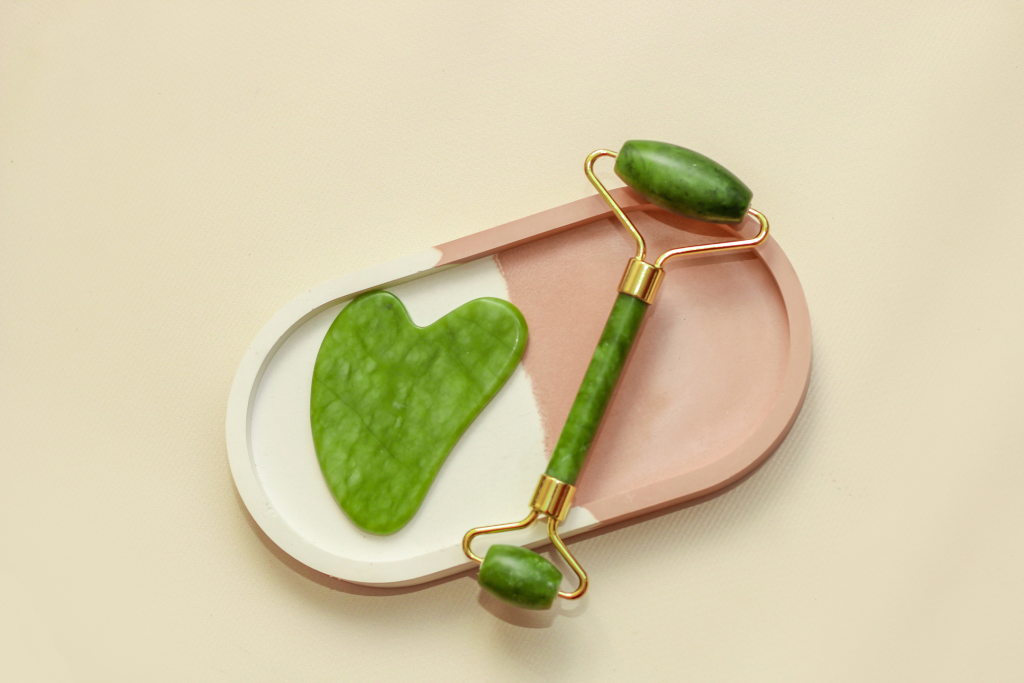
For the roller head: Spray or wipe the stones with an alcohol-free facial cleanser or a dedicated roller cleaner. Wipe them down with a soft cloth.
For the handle and mechanism: Be careful not to get water inside the handle to avoid rusting the metal frame. Wipe these parts down with a damp cloth.
Drying: Pat dry with a lint-free towel.
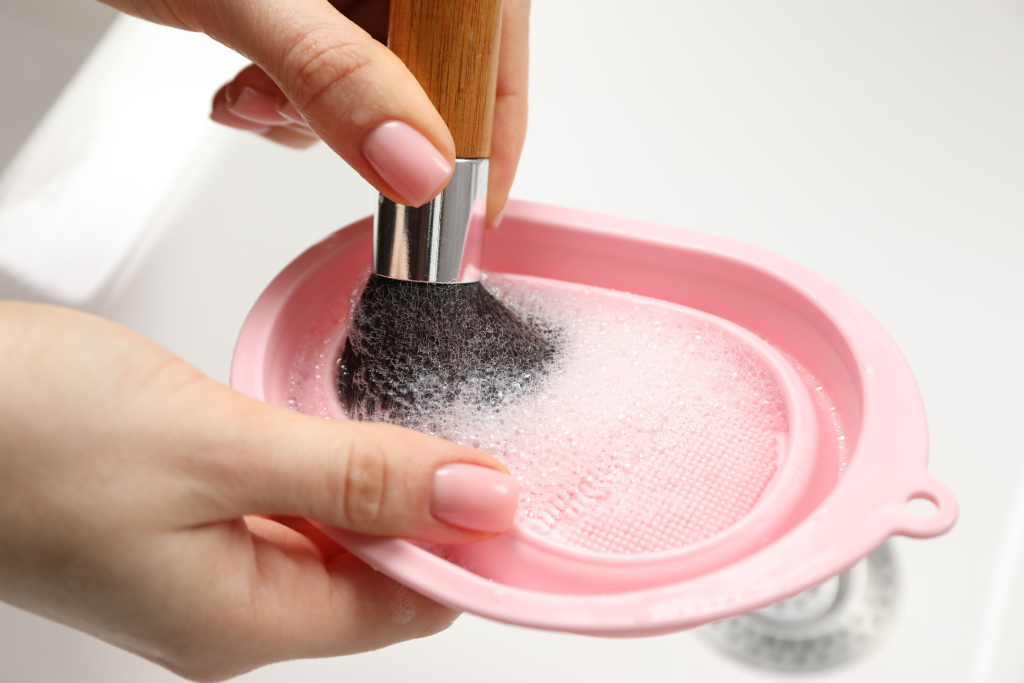
How to clean makeup brushes
Sponges aren’t the only culprits. Brushes also harbor bacteria. Here’s how to clean them without ruining them.
- Swirl the brush bristles in a bowl of lukewarm water with a drop of gentle soap.
- Rinse until the water runs clear.
- Fix the bristles and lay them flat to dry on a towel (keeping them upright can loosen the glue and ruin the brush).
Don’t forget the spoolie!
That little brow brush or spoolie you use every day? It also collects oils and product buildup. Wash it with warm water and a drop of hand soap, then leave it out on the nearest dry, flat surface to air dry.
Quick Tip: For tools like jade rollers and quartz rollers, a quick spritz with a hypochlorous acid spray (a gentle disinfectant used in skincare) between uses can help keep bacteria at bay without damaging the crystal.
How to properly store your makeup tools
Cleaning is only half the battle. You can follow the best tutorial on how to clean makeup sponges, but if you toss them back into a dark, damp makeup bag immediately, you’ve undone all your hard work.
Here’s what you should remember.
Location matters.
Never store your tools in the bathroom. The humidity from the shower creates a breeding ground for bacteria.
Airflow is key.
After cleaning your sponge, let it dry in a well-ventilated area, preferably on a clean rack or the edge of a counter where air can circulate all around it.
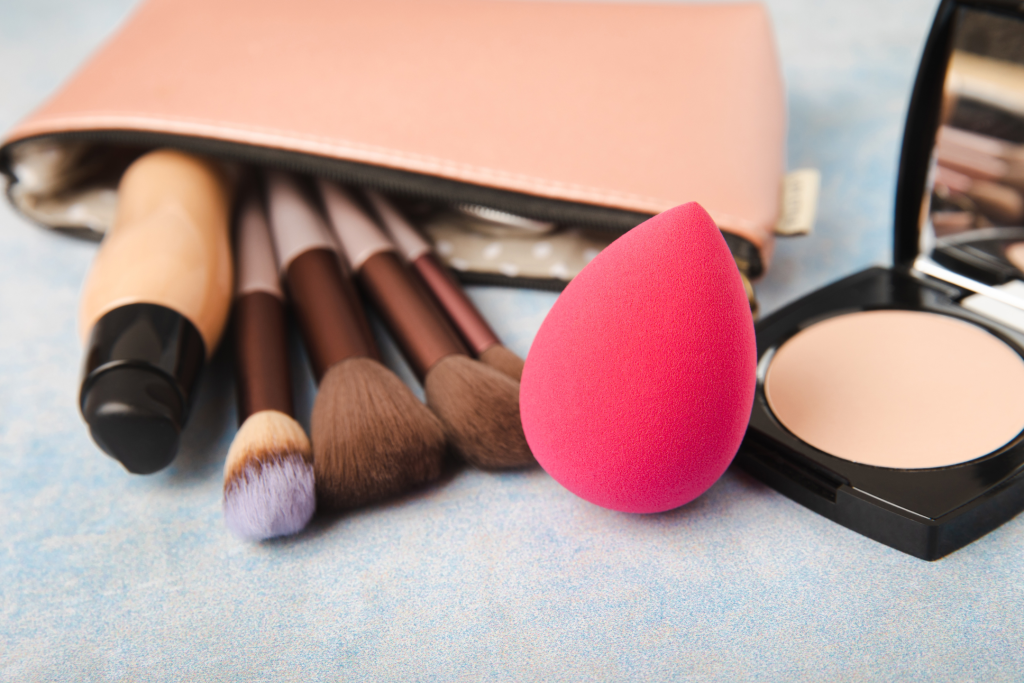
Replace regularly.
Even with perfect cleaning, sponges don’t last forever. Experts suggest replacing your sponge every three months. Keep an eye on it, though—the moment you start noticing it falling apart, it’s trashcan time.
Quick tip: Keep your beauty tools to yourself! Sharing them is a sure way to also share bacteria.
How often should you clean your tools?
Ideally, you want to give your sponge a quick rinse after every use. However, life gets busy. At a bare minimum, you should clean (if not deep-clean) your sponges and brushes once a week.
If you have sensitive skin or active acne, you might want to do it even more often. Think about it: your sponge touches a lot of surfaces that aren’t your skin. Cleaning it regularly is the only way to minimize the risk of an acne flare-up or skin infection.
When to say goodbye
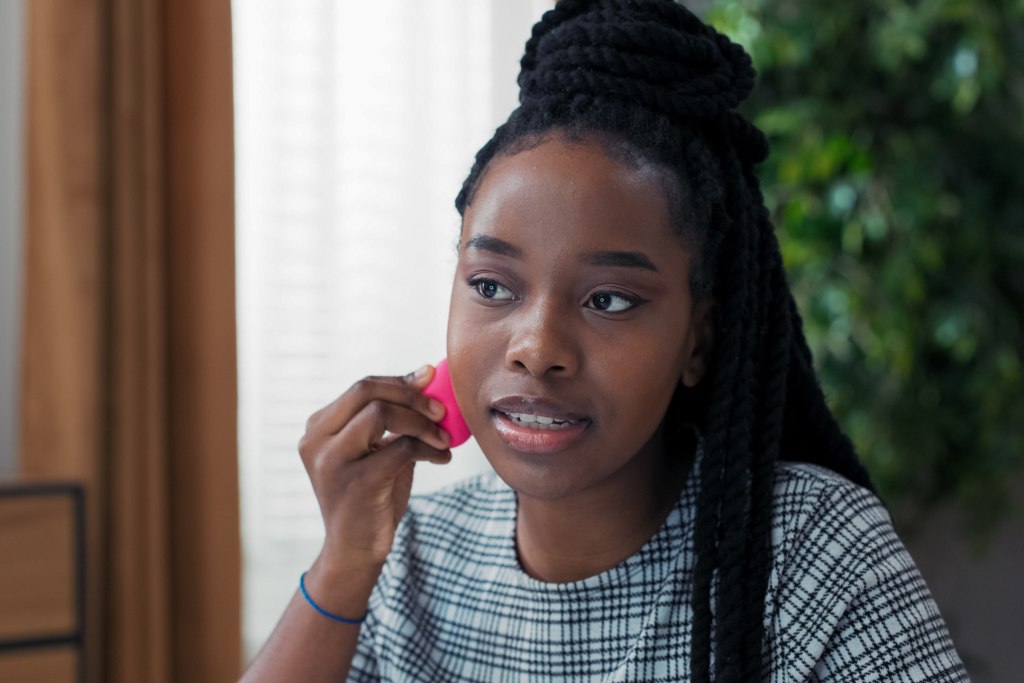
No matter how well you clean your makeup sponges, their lifespan is limited. Here’s how you can tell when it’s time for a quick store trip to get a new one:
- Cracks or tears.
- Persistent stains.
- Texture change (it feels dense, hard, or slimy).
- It’s been 3+ months.
Quick tip: Makeup sponges aren’t the only beauty products with an expiration date. Use a skincare scanner app to know all the ins and outs of every item you purchase.
Key Takeaways
- Wash your makeup sponges at least once a week.
- Squish, never twist, to keep the texture intact.
- A microwave zap after washing kills lingering bacteria.
- Don’t forget jade rollers, brushes, and spoolies.
- Let your tools air-dry completely before storing.
- Replace sponges every 90 days (or sooner, if needed).


-
1.
The impact of beauty blender hygiene practices on bacterial accumulation: Practical study of selected participants in Sharjah. (2024). https://scienceijsar.com/sites/default/files/article-pdf/IJSAR-2200.pdf
-
2.
Isolation and identification of bacteria from some used makeup tools in Sana’a City. (2025). https://www.researchgate.net/profile/Nesrain-Al-Mekhlafi/publication/399367149_Isolation_and_Identification_of_Bacteria_from_Some_Used_Makeup_Tools_in_Sana
-
3.
The cleanliness of Beautyblenders. (2022). https://www.researchgate.net/publication/362937173_The_cleanliness_of_Beautyblenders
-
4.
Evaluation of microbial risk associated with the use of shared makeup applicators and the rate of hygiene practices among beauticians. (2023). https://www.researchgate.net/publication/376074944_Evaluation_of_microbial_risk_associated_with_the_use_of_shared_makeup_applicators_and_the_rate_of_hygiene_practices_among_beauticians